Starting a YouTube channel often begins with an idea you can’t ignore. You may want to share knowledge, build a brand, document a journey, or turn a skill into income. Whatever the reason, YouTube remains one of the strongest platforms for long-term visibility and audience growth.
Many creators struggle not because they lack talent, but because they begin without direction, systems, or realistic expectations. Channels stall, motivation fades, and uploads become inconsistent.
This guide is designed to walk you through the entire process, from shaping your channel idea to publishing videos that attract viewers and grow steadily over time.
1. Define your YouTube channel idea
Your channel idea determines who watches your videos and why they return. A clear direction helps you stay focused and prevents random uploads that don’t build momentum.
Clarify your purpose
One common mistake new creators make is starting without a clear intention. When that happens, content decisions become reactive instead of strategic.
Ask yourself:
- What do I want this channel to achieve?
- Who is it for?
- What value does each video provide?
Valid reasons to start a YouTube channel include:
- Supporting a business or service
- Building personal authority
- Teaching a specific skill
- Documenting progress or experiences
- Creating entertainment content
Not every channel grows quickly. Most channels develop gradually through consistency and improvement.
Choose a focused topic
Pick a subject you can talk about repeatedly without forcing ideas. If you enjoy researching and discussing the topic, producing content becomes easier.
Search YouTube for videos in your chosen niche. Study thumbnails, titles, and formats. Look for gaps: what’s missing, unclear, or outdated?
There is always space for a different voice or perspective.
Practical check:
Write down 10 video ideas. If you struggle to reach ten, refine your topic.
Narrow your niche
Channels with a clear focus attract viewers faster than broad, unfocused ones. Specific content also gets recommended more often because YouTube understands who it’s for.
Examples of narrowing a niche:
- Fitness: Home workouts for beginners
- Photography: Mobile photography tutorials
- Finance: Budgeting for freelancers
- Gaming: Strategy guides for one game
- Education: Study tips for competitive exams
Name your channel
Your channel name should be:
- Easy to remember
- Relevant to your topic
- Search-friendly
- Available across platforms
Avoid vague names that don’t communicate what your channel offers. If possible, align your channel name with your brand, website, or social media handles.
Tip: Don’t design logos or banners yet, you may adjust your positioning after publishing a few videos.
2. Choose your video format
Your format should suit your energy level and long-term schedule.
Ask yourself:
- Do I enjoy speaking directly to a camera?
- Would interviews feel more natural?
- Can I commit to scripting content regularly?
Common YouTube formats
- Talking-head videos
- Screen recordings or tutorials
- Interviews
- Voiceover explainers
- Vlogs
- Educational walkthroughs
Some formats require more editing time. Choose one that feels sustainable, especially at the beginning.
Ideal video length
There is no universal best length. Videos should be long enough to deliver value and short enough to hold attention.
Common ranges:
- Under 5 minutes
- 5–10 minutes
- 10–20 minutes
- 20+ minutes
Focus on clarity, not duration.
Upload schedule
Consistency matters more than frequency. A realistic schedule might be:
- Once per week
- Once every two weeks
Choose a rhythm you can maintain without burnout.
3. Set up recording equipment
High-quality content doesn’t require expensive gear. Many successful channels started with basic setups.
Microphone basics
Clear audio matters more than video quality.
Microphone types:
- Dynamic microphones (best for voice, less background noise)
- Condenser microphones (more sensitive, not ideal for untreated rooms)
USB microphones are beginner-friendly and plug directly into your computer.
Basic setup examples
Solo creator:
- USB microphone
- Any wired headphones
Two-person setup:
- Two microphones
- Audio interface
- Headphones
Useful accessories
- Boom arm or tripod
- Pop filter
- Desk stand
4. Choose video recording software
Your recording tool depends on how you film.
Screen recording & remote content
- OBS Studio (free, powerful)
- Zoom (familiar for interviews)
- Riverside / Descript (local recording, better quality)
Editing software
Beginner-friendly:
- iMovie (Mac)
- CapCut
- Filmora
- Inshot
Advanced tools:
- DaVinci Resolve
- Adobe Premiere Pro
- Final Cut Pro
Choose software that feels intuitive rather than feature-heavy.
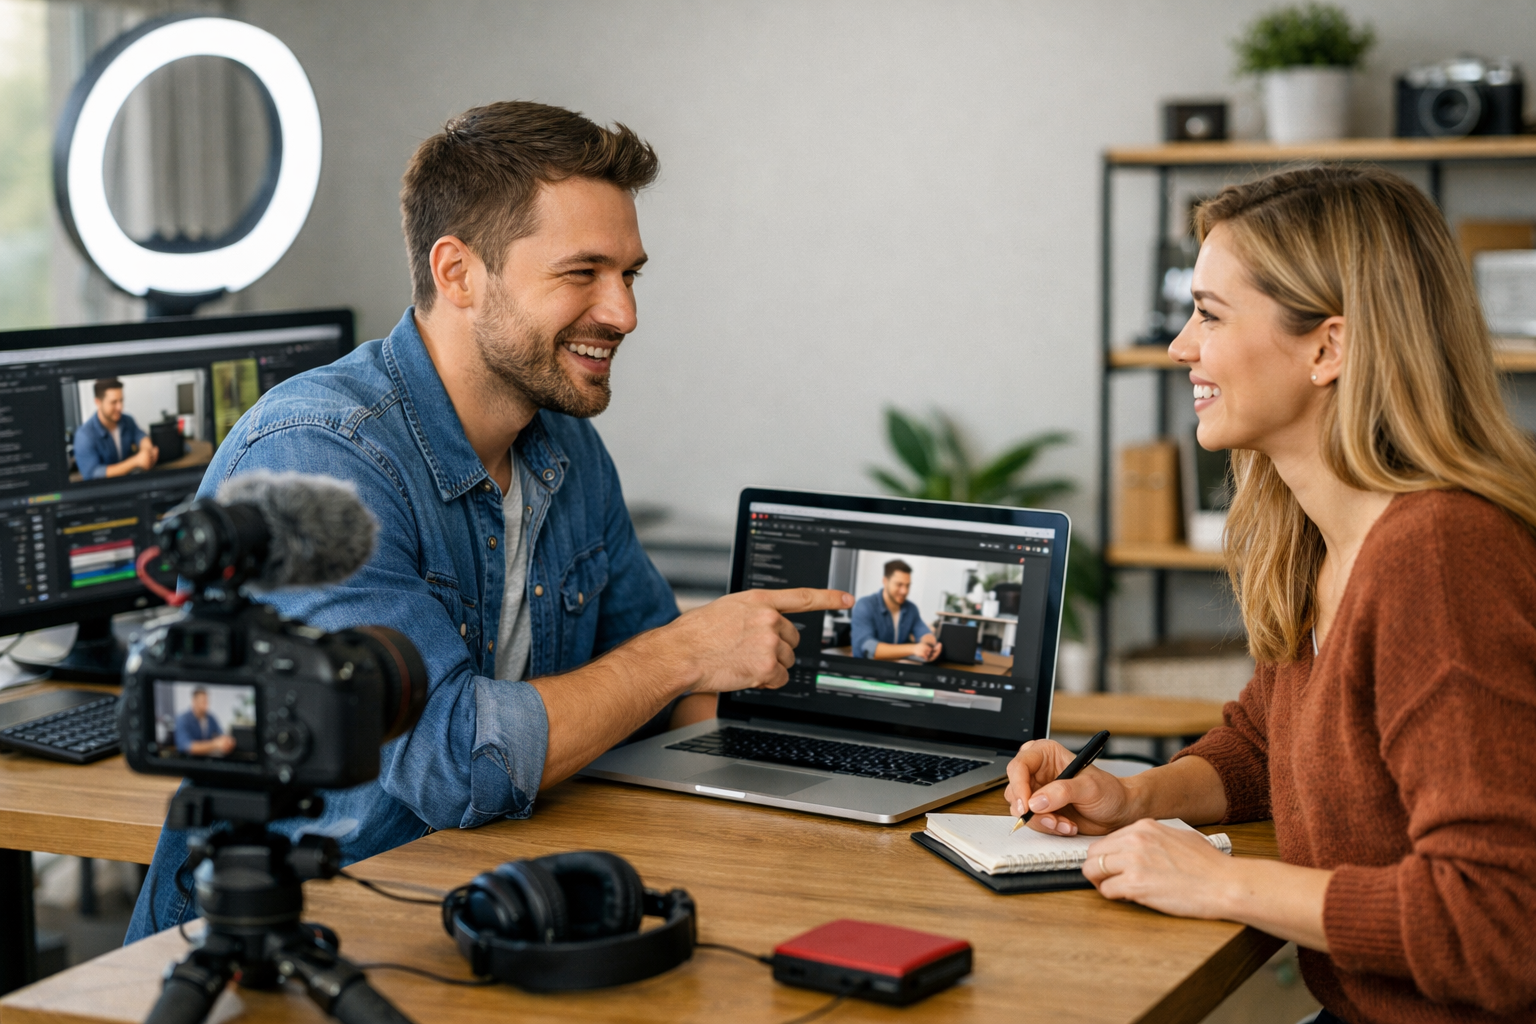
5. Film your first video
Preparation makes recording smoother.
Create a loose outline
Avoid rambling by outlining key points. Bullet notes are enough.
If working with others, share the structure in advance.
Choose a quiet space
Soft furnishings reduce echo. Curtains, carpets, and couches help absorb sound.
Camera positioning
Place the camera at eye level. Maintain natural posture and speak clearly.
Record short test clips to adjust framing, lighting, and sound.
6. Edit your footage
Editing improves clarity and flow, not perfection.
Editing tips
- Trim long pauses and mistakes
- Adjust audio levels
- Add simple cuts or zooms for pacing
- Use background music sparingly
Edit content first, then polish visuals.
7. Design channel branding
Your visuals influence first impressions.
Channel artwork essentials
- Channel banner
- Profile image
- Thumbnail style
Design principles
- Clear text
- High contrast
- Consistent fonts and colors
- Recognizable layout
Avoid clutter. Simple designs perform better on small screens.
Design tools
- Canva
- Adobe Express
- Professional designers (Fiverr / Upwork / 99Designs)
8. Create and optimize your channel
Set up your channel profile
- Channel description
- About section
- Contact information
Use keywords naturally to help YouTube understand your content.
Upload your first video
Add:
- Clear title
- Descriptive summary
- Relevant tags
- Custom thumbnail
9. Publish and index your videos
YouTube automatically indexes videos, but optimization improves visibility.
Improve discoverability
- Use searchable titles
- Write detailed descriptions
- Add chapters
- Include captions
10. Grow your channel steadily
Two launch approaches
Quiet launch:
Upload without promotion to refine your workflow.
Public launch:
Announce your channel to your network and social platforms.
Both approaches work.
Growth strategies
- Share videos with friends and communities
- Post short clips on social media
- Collaborate with similar creators
- Respond to comments
- Improve one element per video
Call to action
Ask viewers to do one thing:
- Subscribe
- Comment
- Watch another video
Simple requests work best.
Free YouTube Resources
- YouTube Creator Studio
- YouTube Analytics
- Creator Insider (YouTube channel)
- YouTube Audio Library
Legal And Money Considerations As You Grow
You do not need formal registration or monetization knowledge when starting, but awareness becomes important over time.
- Copyright rules matter when using music, clips, or images that are not your own.
- Platform guidelines help you avoid content issues as your channel grows.
- Taxes and formal setup only become relevant once income begins and reaches consistency.
Frequently Asked Questions
How long does it take to make money on YouTube?
For most people, it takes several months of consistent effort before income appears. Progress is rarely instant, but momentum builds faster than it feels.
Do I need expensive equipment to start?
No, many successful channels started with basic cameras or smartphones. Clear audio and useful content matter more than gear.
Is YouTube still worth starting now?
Yes, new channels grow every year because viewers care about value, not launch dates. What matters is relevance and consistency.
How many videos should I upload per week?
One quality video per week is enough to grow steadily. More only helps if you can maintain quality and energy.
Final Thoughts
Publishing your first YouTube video is a milestone. Progress comes from learning, adjusting, and continuing even when growth feels slow.
Focus on creating useful, honest content. Improvement compounds with time, and every upload builds experience.
Once you start, the real learning begins.